My first "art quilt" is finished. I really think of it as a practice piece more than anything. I learned several new techniques doing this project, and it was fun. The most amazing thing I learned was that it is possible to make a quilt without following any of the rules!
 |
| Ta da! |
After I finished quilting the piece, I spent some time thinking about how to finish it. I thought that if I used a print for the binding it would look too busy. If I used a solid color, it would take away from the dramatic effect of the purple horizontal lines. My friend, Nan, had mentioned facing to me as another method of finishing. I decided to try it.
I spent a few days thinking about what fabric to use for the facing. Unfortunately, I didn't have enough of the backing fabric left for the facing. I wanted to find something that would co-ordinate nicely with the backing fabric - probably a solid. I wasn't convinced that it would look good to have a wide solid border around the back, but I told myself it would be on the back, not the front, so it would be okay.
As I was about to run over to the fabric store, I was struck by an inspiration. What if I used pieces of The Secret Garden for the facing? I had used it for the front, so why shouldn't I use it on the back? I didn't have to go to the fabric store after all!
I made the facing, and sewed it down by hand with a blind hem. It resulted in a rather thick edge, but it actually gives the piece a little more stability, so it is not a problem for this type of project.
I wanted to try out the monogramming function on my new machine, so I decided to add some monogramming to the facing instead of making a label. I thought maybe I would do it after the facing was sewn onto the edge. I don't know why. I think I was worried about placement if I did it before adding the facing to the piece. That was probably not the best way to approach it.
 |
| The back, with facing |
I stitched a sample of the title, and it looked okay, so I stitched it on the facing. (Well, to be honest, it looked "okayish." My machine is not one of those embroidery machines. It can do monogramming, but it is not terrific.) As I was adding the monogram to the facing, it looked like the fabric was not feeding through the machine in a straight line, so I pulled on it a little to keep the letters in a straight line. Hah! That was a bad idea. The letters got scrunched up and turned out too close together. I had to do it over three times. It was a real pain to rip out the monogramming, but I didn't want to have to rip out the seam holding the facing on. It didn't come out as straight as I would have liked, and the fabric had some holes in it where I had ripped out the monogramming, but it's only the back, right?
Then I added my name and date to the other side.
 After finishing the facing I started thinking about whether I should make a hanging sleeve, and how. Alas, my research revealed that it is better to think about this before you sew on the facing. Oh, well. Live and learn.
Now that I know what I am doing (sort of), I will think more carefully about what fabrics I will use before starting a future piece.
After finishing the facing I started thinking about whether I should make a hanging sleeve, and how. Alas, my research revealed that it is better to think about this before you sew on the facing. Oh, well. Live and learn.
Now that I know what I am doing (sort of), I will think more carefully about what fabrics I will use before starting a future piece.
Lessons learned:
- When you select a backing, make sure you have enough for a facing or binding, or else have a clear idea of what you will use.
- Plan your hanging sleeve BEFORE you do the facing or binding.
- Practice the monogramming, and don't try to pull it straight if it seems to be going crooked.
- Think outside the box!
Nan wanted to know when I was going to finish one of the projects I started in Rayna Gillman's class. That is just what I needed to spur me on.
I decided to start with my first project from the class. You can see that project and read about how it was created here:
Reinventing the Secret Garden
For several days I thought about how to quilt this project. I wanted to come up with something easy, so I considered quilting straight across with horizontal parallel lines. I decided that wouldn't look good where the lines crossed the two purple stripes. Because the fabric strips do not line up, I was also worried that stitching straight across would result in stitching that "clashed" with the fabric.
I was afraid it would be too much work to quilt each third separately, but I decided to do that in order to get a better result.
Having decided how to quilt this piece, I picked out a backing fabric that I had used in the some of the original Secret Garden blocks. I had just enough left. I used spray baste to sandwich together the backing, some cotton batting, and the top.
No one tells you exactly how to use spray baste. I guess you are just supposed to know. I spread an old plastic table cloth on the floor and lay the backing on top of it. I used masking tape to stretch out the backing. Then I sprayed, added the batting, and sprayed again. I laid the top onto the sprayed batting and smoothed it out as much as possible.
At this point I had a border of sticky batting surrounding the top and I needed to turn it face down and smooth out the backing. I didn't want to put it top down on the sticky tablecloth, so I tried the kitchen counter. (This works well for a small project, but the kitchen counter gets all sticky. Next time I am going to try putting down some waxed paper first. I'm still thinking about how to complete this process with a bed-size quilt.)
I had a special foot I wanted to try. When I got my new machine I received a generous amount of store credit and I used it to buy extra attachments (and a wheeled case). I bought a foot for quilting. It has two little metal pieces that you can switch out. One has a guide on the side that helps you sew a 1/4" seam. The other piece has a guide that lies in the middle and helps you stitch in the ditch.

I decided to use purple thread in order to tie the piece in to the
vertical purple fabric strips. I stitched in the ditch on both sides of
the purple strips. I was so excited about trying out the stitch-in-the-ditch gadget that I forgot about using the even-feed foot (a/k/a walking foot). The result was not the best. For whatever reason, the purple strips were a little bunched up. I think they were bunched up already, so I'm not sure that not using the even-feed foot made things worse. The stitches were really tiny, which means they were really hard to rip out, so I didn't rip them out. After I finished the purple strips, I switched to the even-feed foot.
Quilting in three sections turned out to be much easier than I had anticipated, even though there was a lot of turning involved. It went very fast once I got going. As with the sewing done in Rayna's class, there was no measuring; it was just "sew and go." This saved a lot of time.
 |
| The quilting is done! |
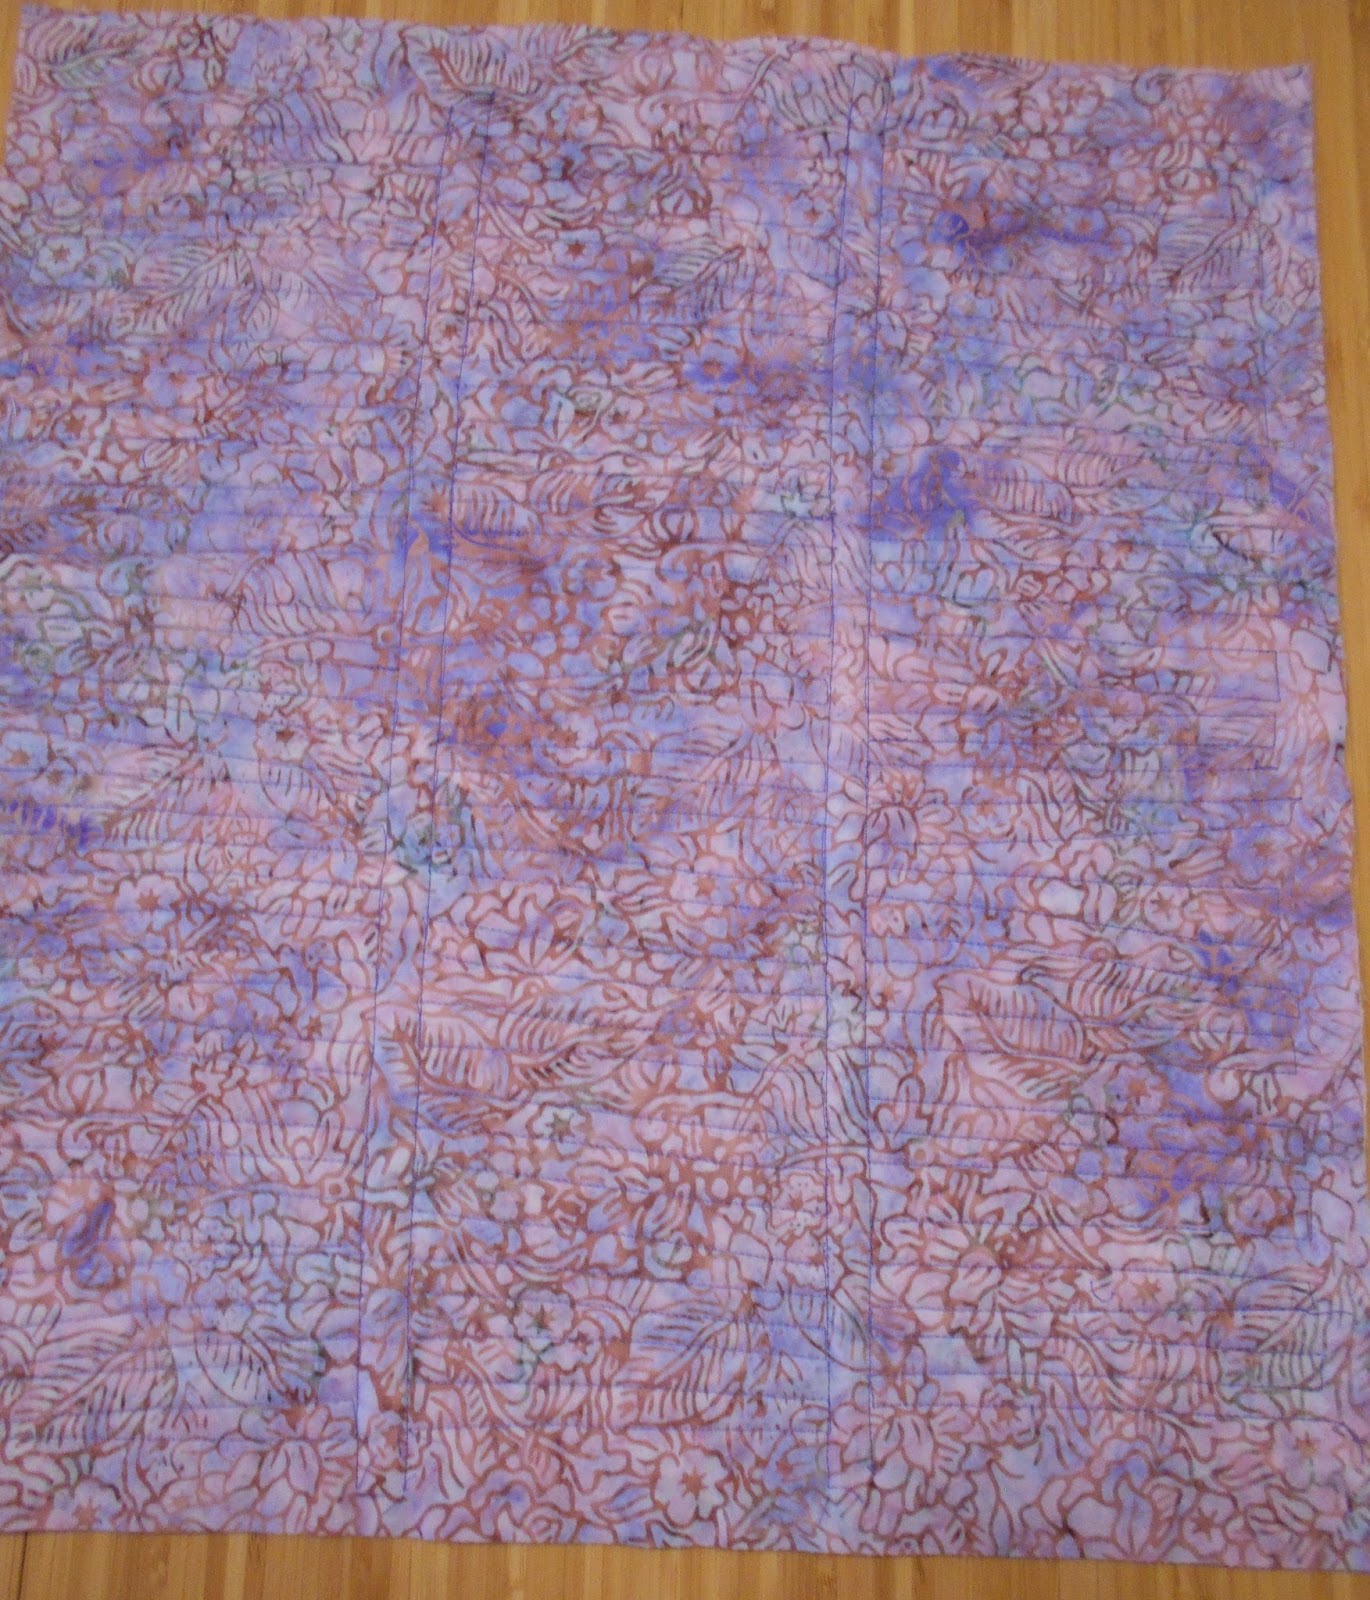
 |
| This is the back |
I decided to name this project Slice and Dice, because it is made from slices of The Secret Garden and because I sliced the whole thing into thirds after I had sewn all the little strips together.
I still need to ponder the stitch-in-the-ditch attachment and experiment further. If you generally want to use the even-feed foot when quilting, when would you ever use the stitch-in-the-ditch foot? Is there some way to pop it onto the even-feed foot and use both? Did I have the wrong combination of dropped feed dogs and other settings when I tried to stitch in the ditch?
Lessons learned:
- Use waxed paper when you want to smooth out something you just spray basted.
- Always make sure you are using the proper foot and you have the right settings for the foot you are using
Circle of Friends is a great name for a quilt block. I like this block a lot. I like the colors (but I was a little surprised to see a NEW color, magenta, in month 10). I love the bright star in the center. I love the way the outer stars interlock, like a circle of friends holding hands.
This BOM was a little bit harder than some. I had trouble with the outer strips. When you cut the rhombus, you start out with a rectangle, and then you cut the corner off. It's hard to get it just right when you cut and when you sew the triangles onto the missing corners. The result is a new rectangle, but when you sew the rectangles together, they don't always align well. I re-did some of these pieces 3 times. Rip, rip, rip.
The second problem I had was with the directional print. I thought I had addressed making sure the print squares were all facing the same direction before I sewed the pieces together. It turns out that there are two ways to make the four-patch, and the direction of the print matters. Because the block instructions are planned so that seams alternate nicely, I didn't want to mess with things, so . . . rip, rip, rip.
The third problem was a tension problem. I had been using the machine to repair some t-shirts, and somehow the tension was a little different when I went back to quilting. I didn't figure this out right away. When I noticed the white stitches peeking through, I was not in the proper frame of mind to undo and redo a lot of work.
I am, however, very pleased with how the corners and points turned out.
Lessons learned:
- Don't just think about the layout. Do an actual layout beforehand, following the instructions.
- When you cut off a corner to make a rhombus, try stacking.
- If you use the machine for something else, test the tension before resuming quilting.


 After finishing the facing I started thinking about whether I should make a hanging sleeve, and how. Alas, my research revealed that it is better to think about this before you sew on the facing. Oh, well. Live and learn.