Showing posts with label thread. Show all posts

Tuesday, January 10, 2017

"Business" Card Holders

First, let's be clear about one thing: I don't have business cards; I have retirement cards.

I am soon going to a mini-reunion with some dear friends from school many moons ago. I decided to make a gift for each of my friends. This time the gift will be "business" card holders.

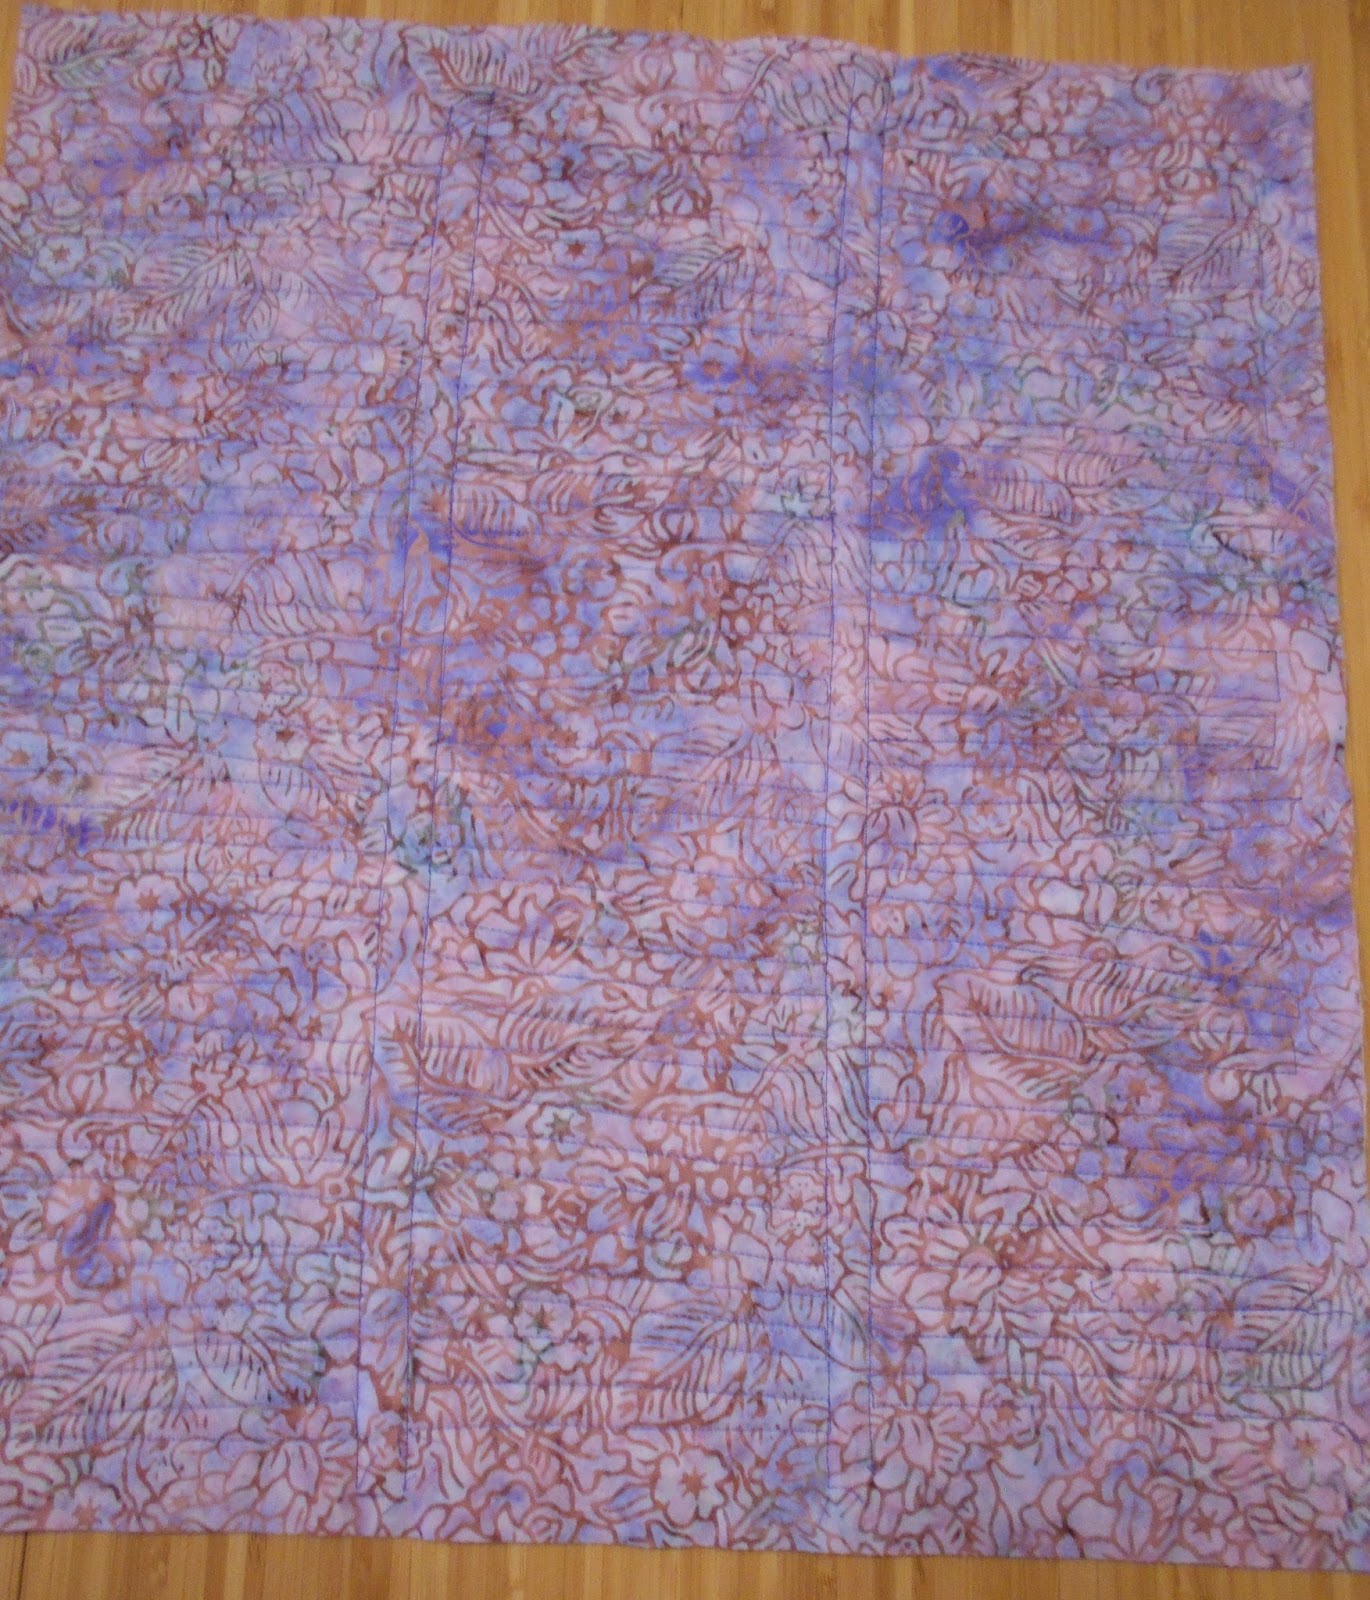
I used some fabric from a Kaffe Fassett collection. I just love his bright, cheerful designs. I found the directions here: Directions for Business Card Holder

The directions were good, but I still had to work at it to get it to come out well. I had to make several trips to various stores to find the right kind of hairbands, the fusible fleece, and the buttons.

I made a lot of mistakes on my prototype. It probably took around five hours what with all the ripping out of stitches. It took me a lot of time to figure out what combinations of fabric to use for each holder, what color thread, what color buttons, etc.

I wanted to use my machine's monogramming stitch (I have a Janome Memory Craft 6500). This added a level of complexity.  After some trial and error I figured out using a tear-away stabilizer would help.

I had to make sure the monogramming would contrast sufficiently with the fabric. I'm not sure I always succeeded with that.

I also had to measure carefully to figure out where to place the monogramming. I first used a scrap of a quilt sandwich to practice the monogramming. Surprisingly, the dimensions of the monogrammed lines were different on the quilt sandwich than on the unquilted card pocket pieces. More ripping out.
Eventually I got them centered, but half of them are probably not fully centered.

I really liked the fusible fleece. It is really more like a batting than a fleece. It fuses very easily and smoothly. I wonder if I could use it on a larger quilt project?

I had a few sewing machine disasters along the way. Something happened with my bobbin case and it got chewed up a little, but I got it working again. Also, at one point a pin fell into the feed dogs and while I was trying to fish it out it went all the way in. Apparently no harm, no foul.

Once I got to the point where the pieces were assembled and turned inside out, I had a lot of trouble with the top-stitching. Then I remembered my trusty old walking foot. It worked like a dream.

When I finally produced a decent result I decided to take an assembly-line approach for the rest. This project had so many changes of thread and feet and stitches, and stitch lengths that it really did save a lot of time to do it in this fashion.

I am pretty happy with the end result:


Phew! The card fits!

They are all different!

Lessons Learned:

Multiply the time estimated for the project by at least three.
Add three extra trips to the store.
Make a practice piece before you waste materials.
Use a light fabric where you plan to monogram.
Remember the walking foot!


Sunday, December 13, 2015

Mug Rug Hugs

I am continuing to cannibalize The Secret Garden. This time I am using it to make mug rugs for some dear friends I will be seeing in January. The entire project was made using leftovers and scraps. I didn't even have to buy the thread.

Here is where I started:


Rocky Mountain Four-Patch Chain block from The Secret Garden.

I ripped out a few seams in this block to remove the four corner squares, which were the perfect size for mug rugs. I then sewed the four cross-pieces together in pairs to make two more squares, and I had the makings of 6 mug rugs.

This project turned out to be a big learning process for me (that's a good thing). I didn't have any directions to follow, so I had to wing it, using what I had learned from other projects. I did a lot of ripping out, but in the end, I let some imperfections go. It was hard to do, but I kept telling myself:
  1. Nobody will notice
  2. Nobody will care
  3. I am being too much of a perfectionist
  4. I have already spent way too much time on this
  5. Why do they have to be perfect anyway?
I used my machine's monogramming capability. It doesn't look as nice as the results you get from a machine with a true embroidery feature, but I wanted a machine that is designed primarily for quilting. I only had to rip out half a monogram. I guess I learned something from my earlier attempts to make labels. It occurred to me, after the fact, that stabilizer might be a good way to go here.

For the actual quilting I tried some straight line quilting, parallel to the "ditch" lines, about 1/4" out. It looked terrible on the back (the side with the monogramming) because it crossed over the monogramming.

Next I tried a stippling or meandering pattern for the free-motion quilting. After doing three I decided I really didn't like the way it looked. In the end I went with a loopy pattern. I have not used this before, but I liked the way it looked. Instead of quilting it from the pieced side, I quilted from the monogrammed side, making sure not to quilt over the monogram.
Loopy quilting
The backing fabric is left over from from some yardage I bought to use in the piecing on the front. The coral backing fabric appears on the patchwork front of some of the pieces. A black companion fabric appears on the front of other pieces. I really like this fabric. The black was provided in the original BOM kits, and I was excited when I found the same 
print in coral.
 
For the binding, I was going to do it the easy way - attach to the back and machine-sew on the front, close to the edge. This looked terrible with white thread. I didn't want to try it with coral thread in the bobbin because I had been experiencing tension problems all through this project and I thought it would look really bad with two different colors if the tension was even the tiniest bit off. 

So, I just sewed the front of the binding down by hand. The white thread shows up too much for my taste, but at the end of a project I always have less patience for ripping out. If I had thought about it, I would have machine-sewn the binding onto the front and hand-sewn it on the back, perhaps using coral thread.
And here they are! I will be making a total of 8.


Lessons learned:
  • Use a stabilizer when monogramming. (I did not.)
  • Don't quilt through monogramming.
  • Thread should match binding. 
  • Take tiny stitches when hand-sewing the binding.
  • Think carefully about whether to attach the binding to front or back, especially if you change your mind about method. 
  • It's harder to do free-motion quilting on a tiny piece than on a fairly large piece.

Tuesday, December 1, 2015

Sea Grass

 In August I took a class with Rayna Gilman. On the second day our challenge was to make something with a limited color palette: two neutrals and a color. Read my blog about the class here: Kiwi, Anyone?

 I selected some fabrics - whites, grays, and greens. (The color is a little off in this photo.)

I sewed the strips together and flipped the piece around.


I squared up the piece. It was a little longer on one edge than the other so it did not lie flat.
After sitting in my sewing area for a suitable length of time, my project demanded to be finished. I tweaked it by narrowing a few of the pieces that were too wide at one end, and managed to beat it into a more one-dimensional piece. I decided to use the print from the focus pieces for the backing. (I have also been using this print for the focus pieces in the 2015 BOMs.)

Then I spent some time thinking about how to quilt it. At first I thought I would quilt only on the light colored stripes, or only on alternating strips. In the end, the focus print also supplied my inspiration for the actual quilting of the project. 

The fabric also gave me the idea to use a variegated thread for the quilting.


Initially I did not plan to have so many lines of quilting, but I just kept filling in blank areas, and in the end, I liked the densely quilted result.
Voila! (Did you notice that it got flipped around again?)

After completing the quilting, I made a facing using the same old focus fabric. (I made the label before sewing on the facing this time :)). It turned out much better than last time, and I only had to do the monogramming once, but it is still a little uneven. The variegated thread looked awful on my test label, so I went with a solid green. I wish I had used the solid green to hem the facing down, but I was too lazy to rip it out and redo it. Besides, it's only on the back, right?


I really like how this turned out. I like it a lot better than "Slice and Dice." I am going to have to try the "two neutrals and a color" idea again.

One last observation . . . As I walked through the living room holding my finished project, it suddenly dawned on me that it looked a lot like our Steve Gordon painting . . . which is my favorite piece in our house! Could I have been influenced subliminally to echo the "look and feel" of the Steve Gordon?


Lessons learned:
  • After squaring off and adding facings, the project will be smaller than expected - in this case, about 10" x 17 1/2". Keep this in mind when you start the project.
  • Plan ahead with regard to when to use variegated thread and when not to.
  • Don't use fusible web to add focus pieces, if you can avoid it. If you are adding the focus pieces at the end, would appliqué look better?


Monday, November 2, 2015

Slice and Dice, Part 1

Nan wanted to know when I was going to finish one of the projects I started in Rayna Gillman's class. That is just what I needed to spur me on.

I decided to start with my first project from the class. You can see that project and read about how it was created here:
Reinventing the Secret Garden

For several days I thought about how to quilt this project. I wanted to come up with something easy, so I considered quilting straight across with horizontal parallel lines. I decided that wouldn't look good where the lines crossed the two purple stripes. Because the fabric strips do not line up, I was also worried that stitching straight across would result in stitching that "clashed" with the fabric.

I was afraid it would be too much work to quilt each third separately, but I decided to do that in order to get a better result.

Having decided how to quilt this piece, I  picked out a backing fabric that I had used in the some of the original Secret Garden blocks. I had just enough left. I used spray baste to sandwich together the backing, some cotton batting, and the top. 

No one tells you exactly how to use spray baste. I guess you are just supposed to know. I spread an old plastic table cloth on the floor and lay the backing on top of it. I used masking tape to stretch out the backing. Then I sprayed, added the batting, and sprayed again. I laid the top onto the sprayed batting and smoothed it out as much as possible. 

At this point I had a border of sticky batting surrounding the top and I needed to turn it face down and smooth out the backing. I didn't want to put it top down on the sticky tablecloth, so I tried the kitchen counter. (This works well for a small project, but the kitchen counter gets all sticky.  Next time I am going to try putting down some waxed paper first. I'm still thinking about how to complete this process with a bed-size quilt.)

I had a special foot I wanted to try. When I got my new machine I received a generous amount of store credit and I used it to buy extra attachments (and a wheeled case). I bought a foot for quilting. It has two little metal pieces that you can switch out. One has a guide on the side that helps you sew a 1/4" seam. The other piece has a guide that lies in the middle and helps you stitch in the ditch.

I decided to use purple thread in order to tie the piece in to the vertical purple fabric strips. I stitched in the ditch on both sides of the purple strips. I was so excited about trying out the stitch-in-the-ditch gadget that I forgot about using the even-feed foot (a/k/a walking foot). The result was not the best. For whatever reason, the purple strips were a little bunched up. I think they were bunched up already, so I'm not sure that not using the even-feed foot made things worse. The stitches were really tiny, which means they were really hard to rip out, so I didn't rip them out. After I finished the purple strips, I switched to the even-feed foot.

Quilting in three sections turned out to be much easier than I had anticipated, even though there was a lot of turning involved. It went very fast once I got going. As with the sewing done in Rayna's class, there was no measuring; it was just "sew and go." This saved a lot of time.
 
The quilting is done!
This is the back
I decided to name this project Slice and Dice, because it is made from slices of The Secret Garden and because I sliced the whole thing into thirds after I had sewn all the little strips together.


I still need to ponder the stitch-in-the-ditch attachment and experiment further. If you generally want to use the even-feed foot when quilting, when would you ever use the stitch-in-the-ditch foot? Is there some way to pop it onto the even-feed foot and use both? Did I have the wrong combination of dropped feed dogs and other settings when I tried to stitch in the ditch?

Lessons learned:
  • Use waxed paper when you want to smooth out something you just spray basted.
  • Always make sure you are using the proper foot and you have the right settings for the foot you are using

Thursday, July 23, 2015

Pish Pash

I finished it! The "Pashmina" table runner.
SLM thinks this is why it's called Pashmina
I still have to learn what setting to use on the camera to make my photos of quilting come out well. I had some issues with focus, lighting, and color.

I had to take the closeup photos in three sections:


I used wavy lines for the free-motion quilting. It turned out pretty well. I think my control got better as I went along. Practice, practice, practice. Ideally, I would do all of the quilting in one sitting to maintain consistency, but my arms would probably fall off if I tried to do this - especially on a larger project.

I decided to use the backing fabric for the binding. I thought it would look good.
Backing with matching binding
I'm not thrilled with the way the binding turned out on the front. I didn't realize it would come out looking like the stripes on a barber pole once it had been trimmed and folded into a narrow strip. It does look nice on the back, though.

I tried something new (for me) with the binding. Instead of machine-sewing it onto the front, folding it over, and then hand-sewing it down on the back, I wanted to spare myself the tedious hand-sewing. I machine-stitched the binding onto the back of the project, folded it over, and then machine-stitched it down on the front, very close to the folded edge. That was SO MUCH easier.

I wasn't sure how it was going to look on the back. I don't think it looks that bad. In some places you can't even see the top-stitching. In other places you can see it, but it's on the back, so I can live with it.  
You can see the top-stitching a little bit

If I had matched the thread color better, this might have been less noticeable. As it happened, I just decided to use a color I had on hand. It was close, but somewhat darker than the fabric.
 
Lessons learned:

1. Measure twice, cut once.
2. Relax.
3. Give yourself a realistic but not too distant deadline.
4. A solid color might be best for your binding. Test a print by folding it into a narrow strip.
5. Don't be lazy when it comes to thread color.