I decided to start with my first project from the class. You can see that project and read about how it was created here:
Reinventing the Secret Garden
For several days I thought about how to quilt this project. I wanted to come up with something easy, so I considered quilting straight across with horizontal parallel lines. I decided that wouldn't look good where the lines crossed the two purple stripes. Because the fabric strips do not line up, I was also worried that stitching straight across would result in stitching that "clashed" with the fabric.
I was afraid it would be too much work to quilt each third separately, but I decided to do that in order to get a better result.
Having decided how to quilt this piece, I picked out a backing fabric that I had used in the some of the original Secret Garden blocks. I had just enough left. I used spray baste to sandwich together the backing, some cotton batting, and the top.
No one tells you exactly how to use spray baste. I guess you are just supposed to know. I spread an old plastic table cloth on the floor and lay the backing on top of it. I used masking tape to stretch out the backing. Then I sprayed, added the batting, and sprayed again. I laid the top onto the sprayed batting and smoothed it out as much as possible.
At this point I had a border of sticky batting surrounding the top and I needed to turn it face down and smooth out the backing. I didn't want to put it top down on the sticky tablecloth, so I tried the kitchen counter. (This works well for a small project, but the kitchen counter gets all sticky. Next time I am going to try putting down some waxed paper first. I'm still thinking about how to complete this process with a bed-size quilt.)
I had a special foot I wanted to try. When I got my new machine I received a generous amount of store credit and I used it to buy extra attachments (and a wheeled case). I bought a foot for quilting. It has two little metal pieces that you can switch out. One has a guide on the side that helps you sew a 1/4" seam. The other piece has a guide that lies in the middle and helps you stitch in the ditch.

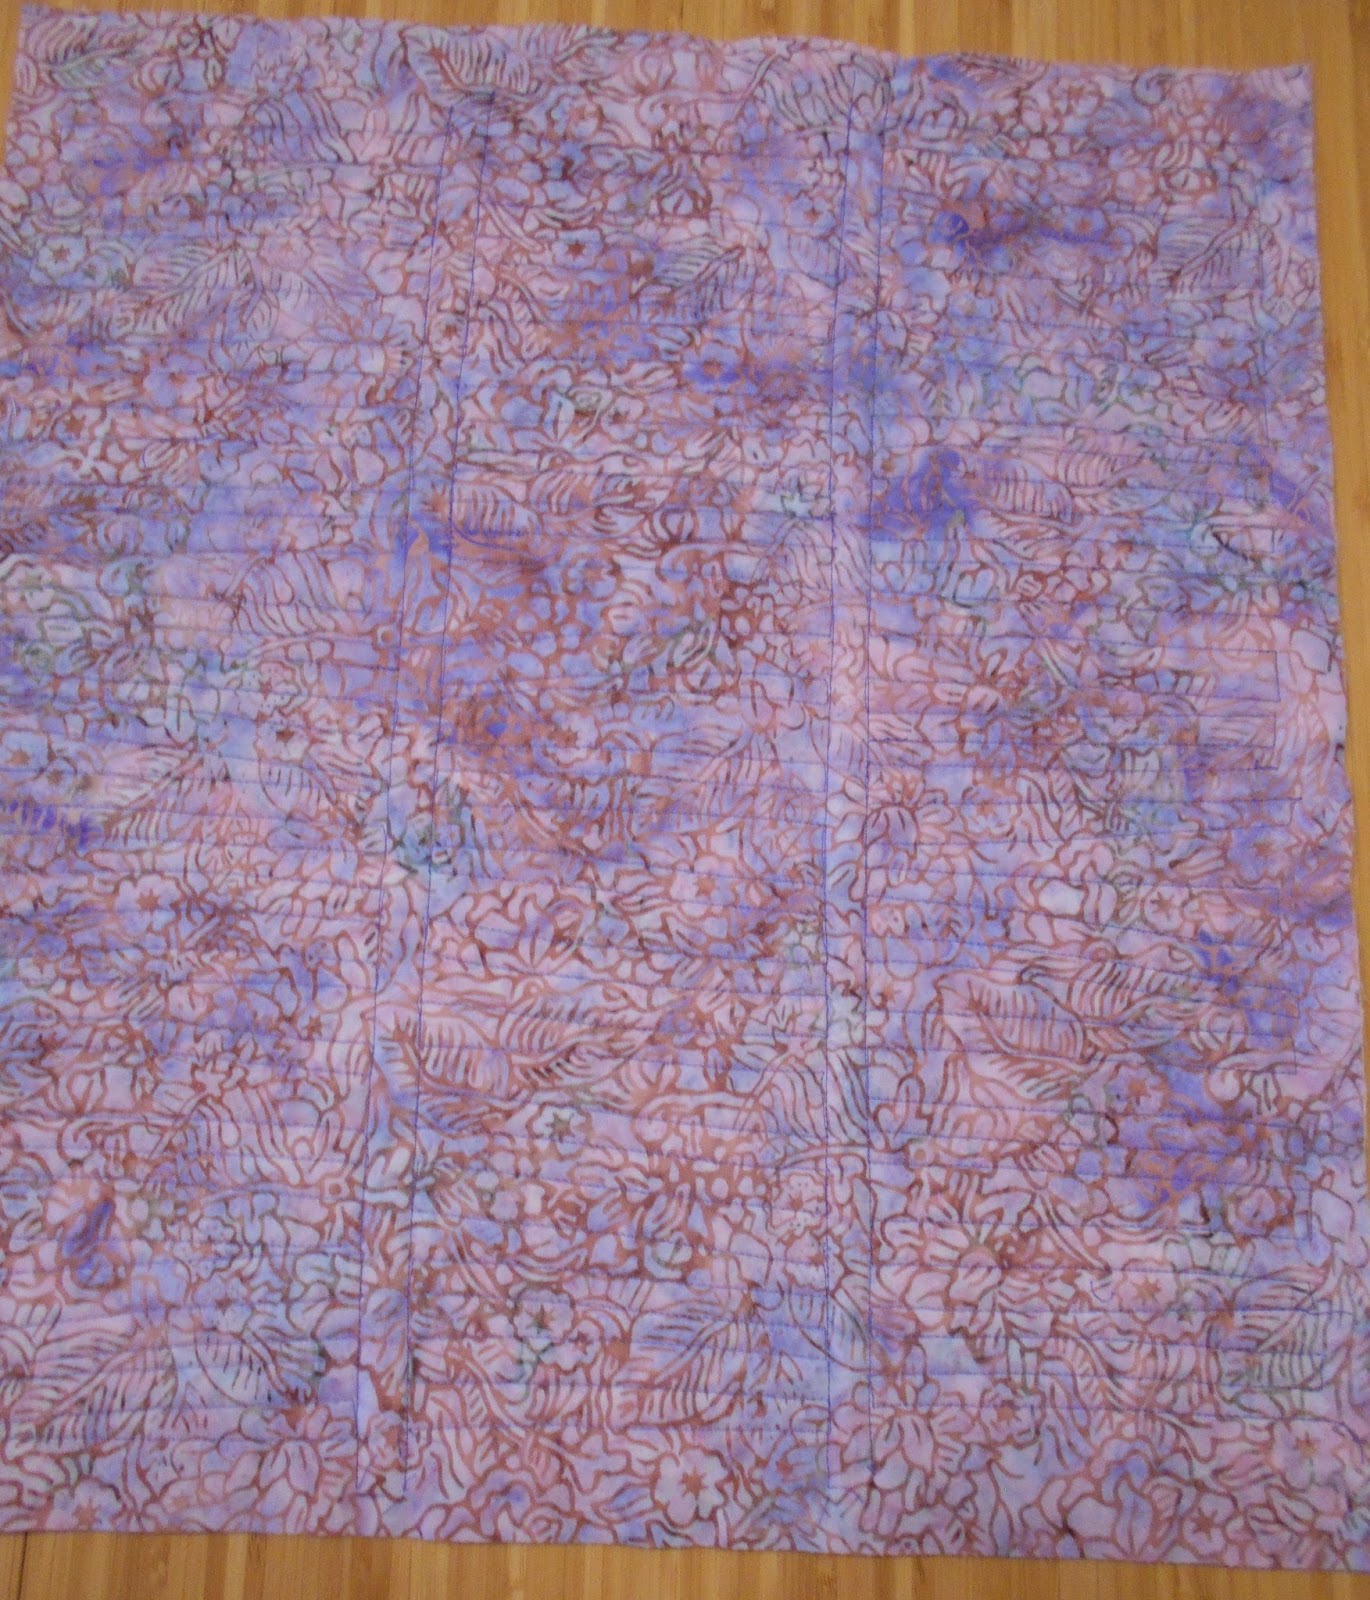
I decided to use purple thread in order to tie the piece in to the vertical purple fabric strips. I stitched in the ditch on both sides of the purple strips. I was so excited about trying out the stitch-in-the-ditch gadget that I forgot about using the even-feed foot (a/k/a walking foot). The result was not the best. For whatever reason, the purple strips were a little bunched up. I think they were bunched up already, so I'm not sure that not using the even-feed foot made things worse. The stitches were really tiny, which means they were really hard to rip out, so I didn't rip them out. After I finished the purple strips, I switched to the even-feed foot.
Quilting in three sections turned out to be much easier than I had anticipated, even though there was a lot of turning involved. It went very fast once I got going. As with the sewing done in Rayna's class, there was no measuring; it was just "sew and go." This saved a lot of time.
 |
| The quilting is done! |
 |
| This is the back |
I still need to ponder the stitch-in-the-ditch attachment and experiment further. If you generally want to use the even-feed foot when quilting, when would you ever use the stitch-in-the-ditch foot? Is there some way to pop it onto the even-feed foot and use both? Did I have the wrong combination of dropped feed dogs and other settings when I tried to stitch in the ditch?
Lessons learned:
- Use waxed paper when you want to smooth out something you just spray basted.
- Always make sure you are using the proper foot and you have the right settings for the foot you are using
No comments:
Post a Comment