There's a special feeling that comes with starting a new project. You have a clean slate and high expectations. I don't know what this quilt will look like - hence, the mystery - but I know it will be beautiful and I know the directions will be clear and precise and helpful.My new project is Bonnie Hunter's 2020 Mystery Quilt-along. She has called it Grassy Creek, as she was inspired by a creek of that name near her home in southern Virginia. Mine quilt is going to be called Chester Creek, for the creek nearest to me.
Screw you, Covid-19. I'm going to have fun staying at home and sewing. I have managed to get the fabric I need via mail-order (thank you Missouri Star), and I have put a new blade in my rotary cutter and would several bobbins. I even have new clips to keep the threads on my bobbins from unwinding. I have tried several different things to solve this problem and nothing has been satisfactory. I think these are going to work. 😊
 |
The problem
|
 |
The solution
|
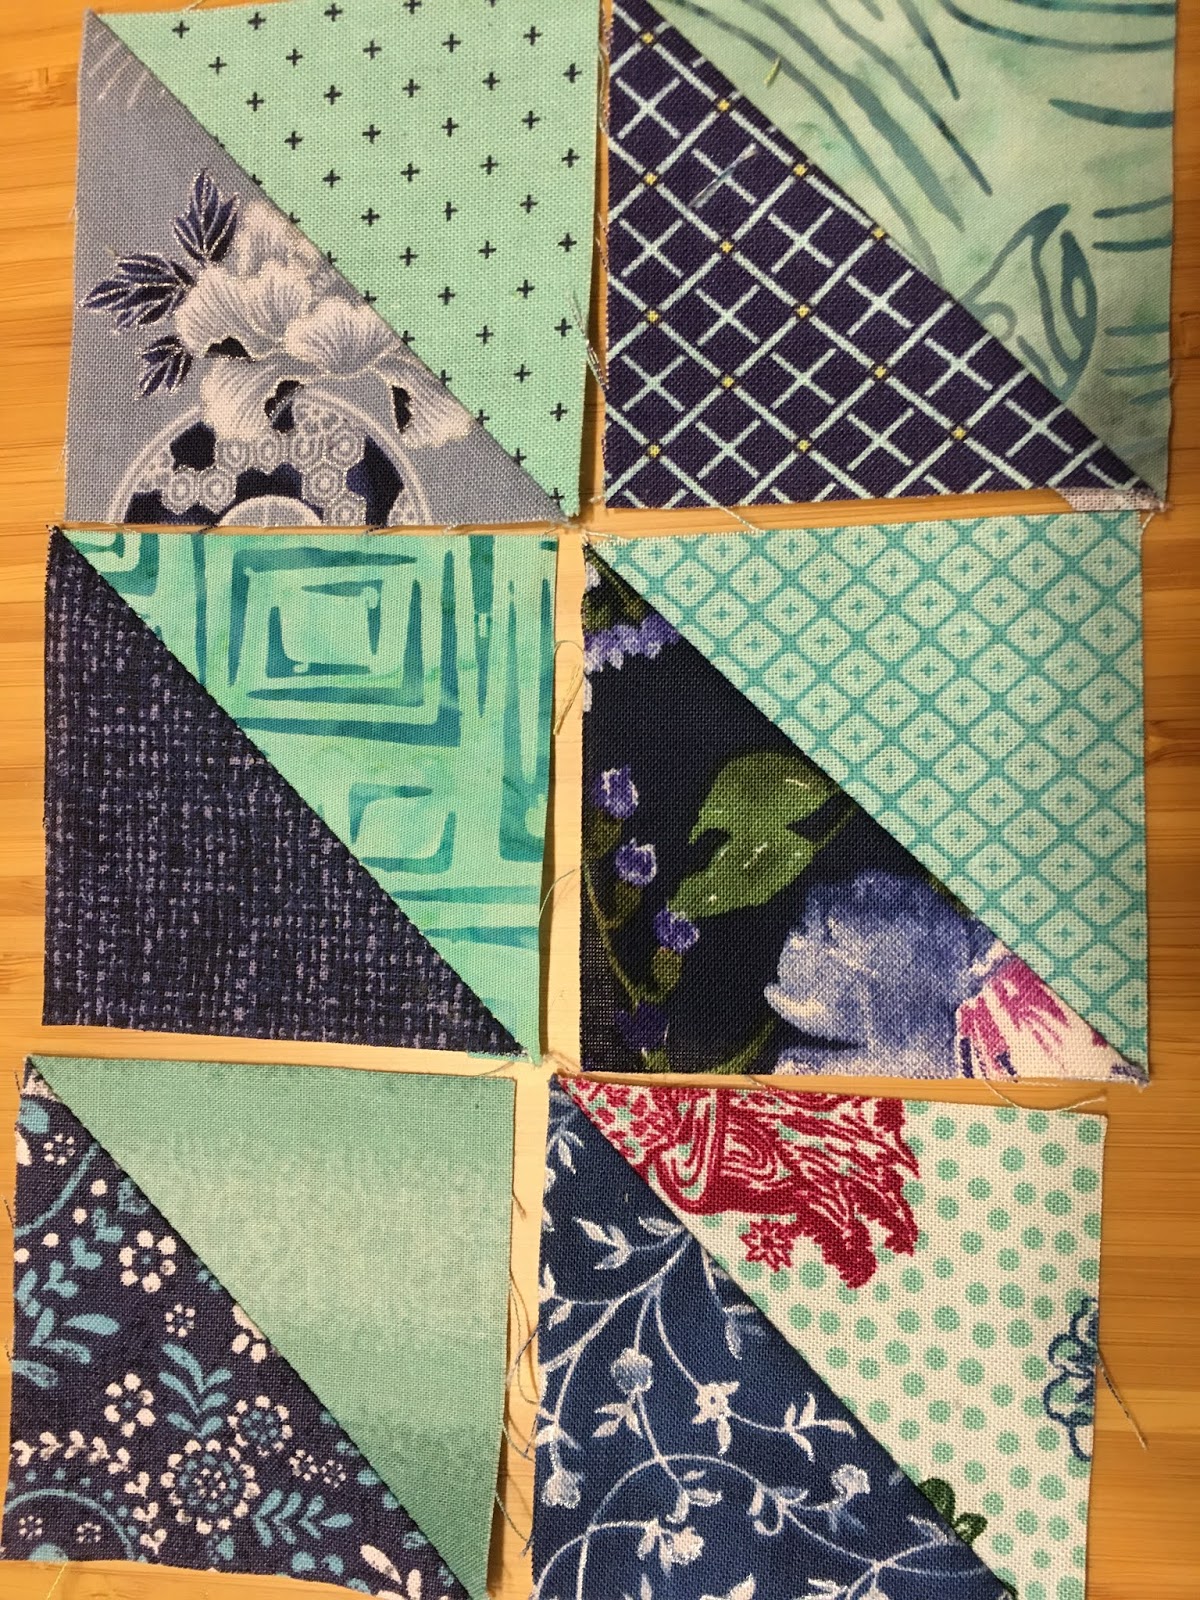
What will Bonnie Hunter tell us to make first? Half-square triangles, using the golds and the greys! She offered several cutting methods. I chose to use the method which employs her Essential Triangle Tool. It seems to be the easiest.
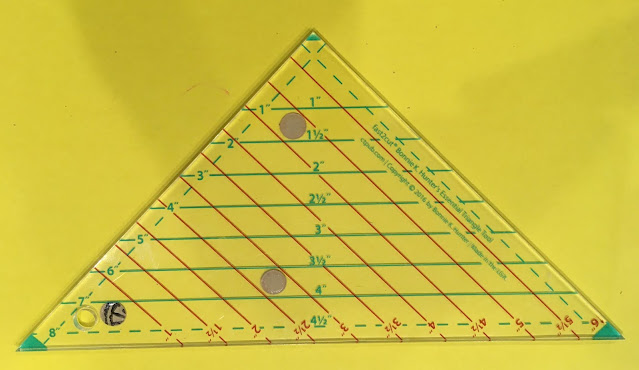 |
Essential Triangle Tool
|
I really like the Essential Triangle Tool, but I did notice that it tended to slip when cutting a stack of four strips. I decided to add some sandpaper dots, and that seemed to lessen the GC 1-5slippage.
 |
Sandpaper dot closeup
|
Another problem I encountered was the difficulty of cutting relatively narrow strips from the ends of the various one-yard cuts of fabric I was working with. In the past, I have generally worked with 1/4-yard cuts and I did not have to worry about cutting such lengthy strips. But this year, I had to order from Missouri Star and they have a 1-yard minimum for yardage. If I did another quilt like this, I would probably cut the pieces into 1/4-yard cuts before starting.
My third challenge was getting the finished size right. Bonnie Hunter said the seams should be "scant," but I usually ended up with finished squares that were too large, so I just sewed my regular 1/4" seams - which was easier to do - and my pieces ended up correctly sized.
Despite these minor issues, I finished Part 1 easily, and the pieces ended up looking very nice.
 |
Part 1 pieces
|
Ta da! (Clue) One and done!