Monday, December 28, 2015

Adagio! - Allietare Week Five

Adagio! Slowly! I expected this week's sewing to go really fast because all the cutting had already been done. But . . .

I started laying out the 4-patch squares and I soon remembered that I had made the squares during the very first week. At that time I didn't have a feel for where this project was going and I only used four or five neutrals. In Week One I only made half the number of pieces I needed, and I told myself I could always buy more neutrals to use for the rest of the little squares once I had a better idea of what I wanted to do.

As I started to lay out the little 4-patch blocks "randomly," I realized that 1) I now had several additional neutrals, 2) none of the new neutrals were going to be in the 4-patch blocks because I made the half-square triangles before I bought the additional neutrals, and 3) if I didn't make some more half-square triangles right away, using my new neutrals, my blocks would not be random and might not look right.

So the first detour was to cut out a lot more triangles and sew them together into gray + neutral squares. 

The second detour was forgetting that I needed to cut the triangles with the strips with the RIGHT SIDES TOGETHER because I didn't LOOK AT THE DIRECTIONS because I can remember how to do something I did four weeks ago, right? I ended up with all my neutral triangles going one way and my gray triangles going the same way, which meant that when I put them right-side-together they didn't match up. So, I cut some more. Adagio! Slow down!

Then I substituted some of the new squares in the 4-patch blocks which I had  laid out. With this much effort going into it, it's not truly random, but I was really going for more of an "evenly dispersed" look. I wanted most blocks to have some of the original neutrals and some of the newer neutrals. I wanted to avoid having a large number of blocks with only the original neutrals. The original neutrals were all very subtle, tone-on-tone mostly. The newer fabrics were a little more "daring," if you know what I mean. Thus, it would be really obvious, I think, if I didn't spread the wealth around.

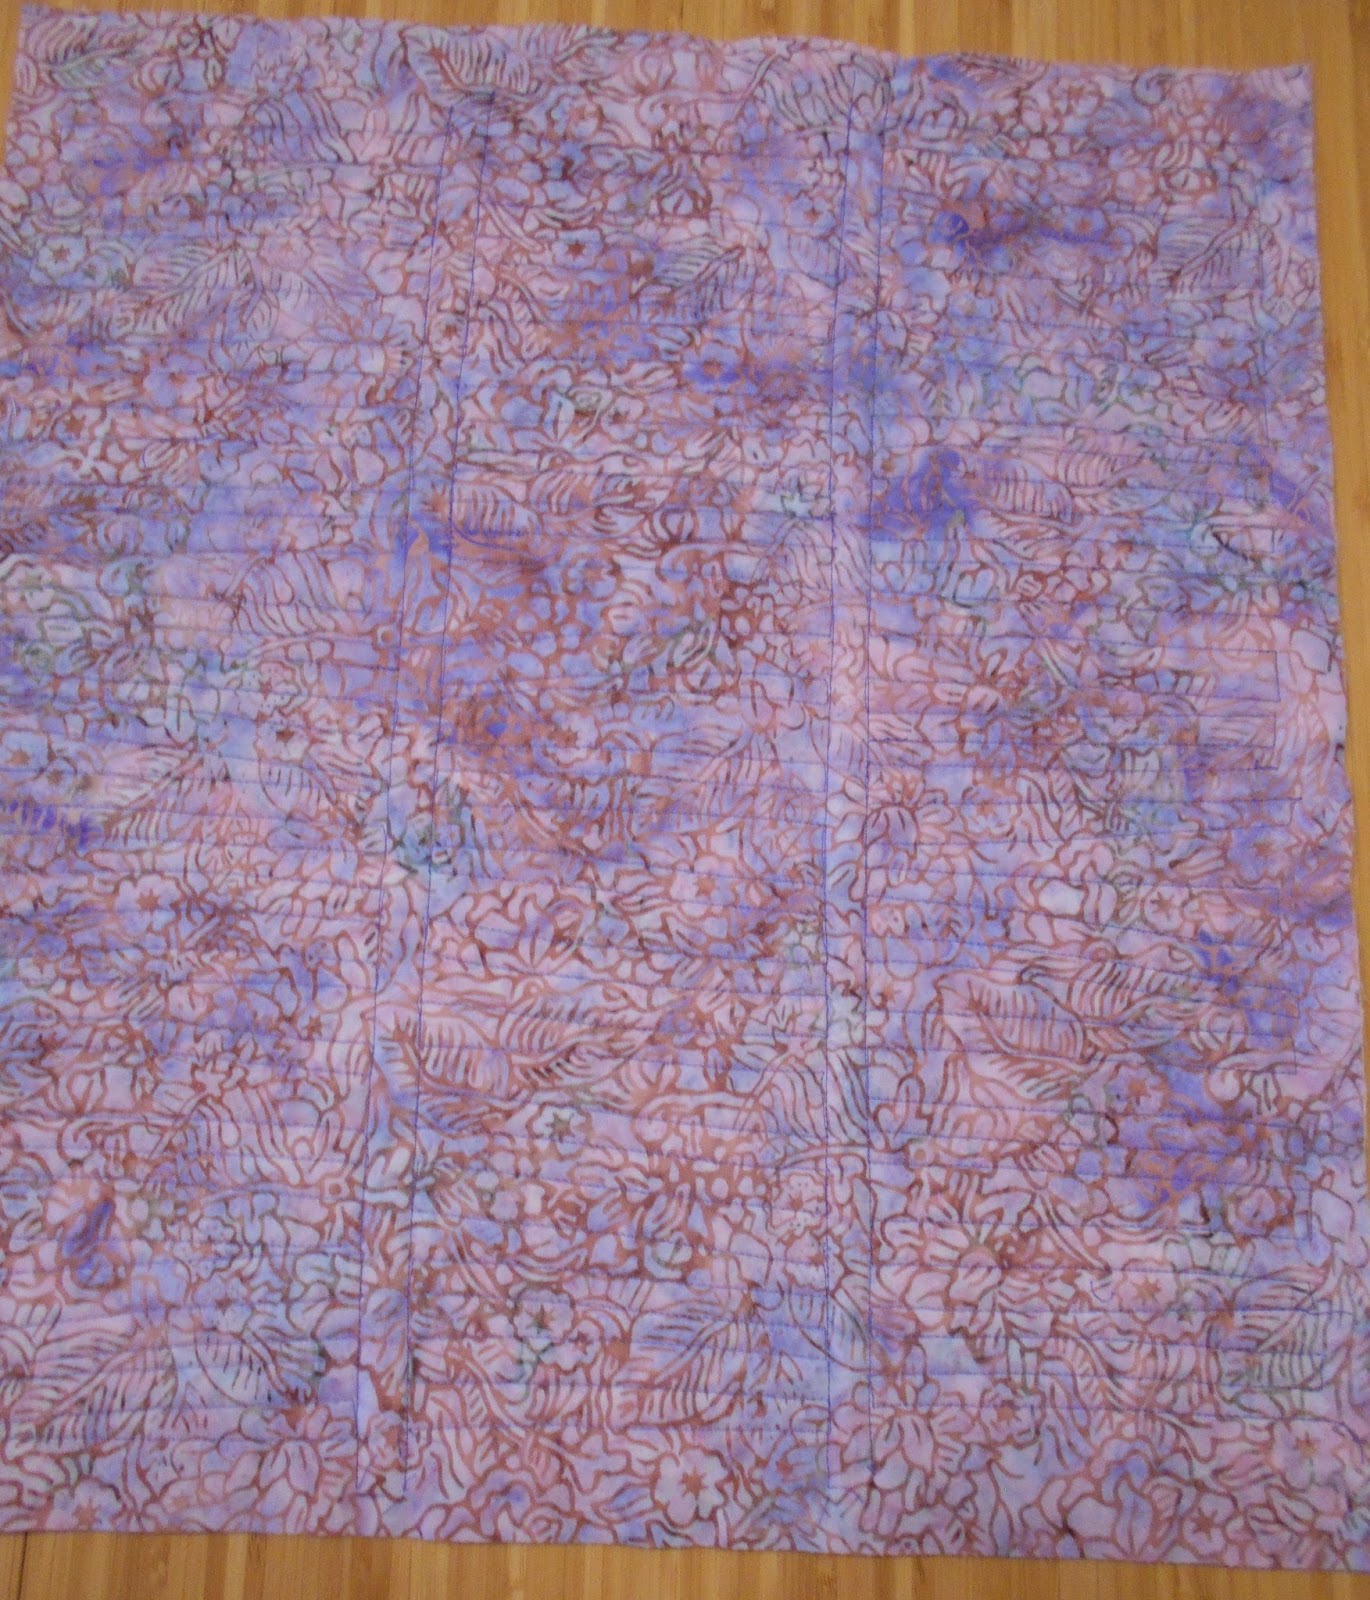
Third detour: When I finally started making the 4-patch blocks, my machine started eating them. Lots of stopping and ripping out. I changed to my straight-stitch needle plate. That helped, but it doesn't completely avoid the problem. I googled "sewing machine eating fabric and I found a great list of things to try HERE. I like the idea of using a scrap of fabric to get started.

Fourth detour: I sewed five sets of squares together and stopped to check them out. Ooops. I did not pin them before I sewed them and I had a lot of slippage on all five pieces. Thanks to Becca I now know that it is legal to throw bad pieces away and just make new ones, but I don't want my seam ripper to get rusty or something, so I think I'll just do this the hard way.

A detour from the detours:
Before going further, I would like to share another photo (from our trip to Italy) that resembles the pieces we are making this week. This was taken in Pisa. I think one of Bonnie's photos was taken at the same building, but from a different angle.
 

I finally got the hang of this week's "assignment," and now I have half of my pieces done.
 
I did the Stitch and Flip part, and it worked the first time! Amazing!
 

This is probably all I'm going to do this week because I am getting ready to go on vacation and I have lots to do. I don't know if I'll have time to do anything on Week Six before we leave, but I'll try. I'm really sorry to have to miss the rest of the quilt-along. I'm looking forward to seeing photos of everyone's progress.

Before I go, here is the link to Mystery Monday Link-Up Part 5. It is really fun to see what fabrics others have chosen. I have yet to see ANY of my fabrics used by anyone else.

Monday, December 21, 2015

Avanti! - Allietare Week Four

Avanti! Moving forward!

I was struck by Bonnie's photo of the striped church in Cinque Terre.

Here are a few of the photos we took of the magnificent cathedral in Orvieto, with that same distinctive black and white striping:


Did you notice the colors?


So. Week Four. Here is the link to Mystery Monday Link-Up Part 4.

I have completed half of the pieces I need. The seams didn't always match up well. I need to be more careful when sewing the half square triangles onto the trapezoids. I wasn't pinning them. It saved a lot of time, but sometimes the pieces slipped and I didn't notice. If I find any that are seriously out of alignment, I will redo them.

I used only one black fabric for all of the pieces. I did this because I misread the directions. I actually like the way it looks, so I'm glad.

Today - 5 hours and 28 minutes of daylight
Sunrise 10:14 am
Sunset  3:41 pm

Today we are turning the corner. Tomorrow we start gaining light!

Thursday, December 17, 2015

Volare! - Allietare Week Three

I'm flying through this now! I'm caught up! I have done half of the pieces for Week Three and it is still Week Three. I only plan to make half the pieces, for a smaller quilt, so I am really done.

 I want to start catching up on Weeks 1 and 2, but I have come down with a terrible cold. I tried to work on it last night with a head full of cold medicine and I forgot to follow the directions. It wasn't a disaster - it was just a lot more work the way I did it. :(

I also have a looming deadline for completing more mug rugs.

Here are some of the pieces I finished:

Only 5½ hours of daylight today here in the far north. I love working with the bright golds.

 And here is the link to the Allietare Link-Up Page for Week Three: Allietare Week 3 Link-Up

Wednesday, December 16, 2015

Allegro! - Allietare Week Two

Allegro! Step lively!

I HAD to get some more fabric. You know how that goes. A big snowstorm was coming, so I needed to get to the store before the storm blocked all the roads. I have my priorities.

This time I went to a real quilt shop, and the fabric I got was of better quality.


I just flew through Week Two's clue. I used the Companion Ruler for easy-peasy cutting of the rhomboid pieces. I really like these templates so much better than Marti Michell's templates, especially for this type of cutting.  These templates are one-size-fits-all. With the Marti Michell templates, you have to buy another set for every size, and when you use them you end up needing a little revolving cutting mat because you are always turning your pieces around.

Here is what I made:


How are these pieces going to come together at the end of the mystery?

Here is the link to the Allietare Link-Up Page for Week Two: Allietare Week 2 Link-Up

Monday, December 14, 2015

Andiamo! - Allietare Week One

Andiamo! Let's go! Let's see if I can catch up to the weekly clues.

Bonnie Hunter recommends the Easy Angle Ruler and provides good instructions on how to use it. I acquired the ruler and it really made the cutting zip along like lightning. I liked it much better than the Marti Michell templates used in the BOM program I have been involved with.
It looks complicated, but it's really very easy to use
The clue for Week One seemed daunting. We had to make an awful lot of these half square triangles. It actually turned out to be easy, thanks to the Easy Angle Ruler, and it went very quickly, thanks to doing only 1/4 of the number specified in the clue.

Here are some of my squares:
Clue 1
Note that the gray is constant, but not the neutrals.

I kind of knew this already, but as I was sewing I became acutely conscious of the low quality of the Jo-Ann fabric. I really thought they would have better fabric in their quilting section. The fat quarters weren't any cheaper than those at a better quilt shop (before the coupons). The gray was fine, but the thread count on the neutrals is very low. I would have preferred something with a tighter weave. I'm not too worried about it because this project is unlikely to be subjected to a lot wear. But still.

Here is the link to the Allietare Link-Up page for Week 1, where you can see what others are doing: Allietare Week 1 Link-Up


Allietare!

I am not going to start any new projects until I finish some of my unfinished ones.
 
Well, I was surfing the "quilternet" and I found a project that really intrigued me. I was NOT looking for a new project. It is a mystery quilt-along by Bonnie Hunter called Allietare! Here is a link to it: Allietare Intro

Allietare is Italian for "to gladden, delight, or cheer up. "

I just couldn't stop thinking about this quilt-along and it made me feel glad and cheerful.

I like the idea of a mystery.

I like the idea of working with a color palette that I don't usually use.

I like the idea of using paint chips to shop for fabric.

I like being able to use fabric that I picked out. I like the opportunity to experiment with many different prints.

I like the idea of having something to do when my BOM program ends next week. (I have decided not to continue with the BOM program in 2016.

I like the clear and detailed instructions.

I like the idea of being able to see what others are doing with the same pattern.

I love the idea of taking inspiration from your travels - in this case, Tuscany. (I had recently started to think about this after seeing Nancy's work with hand-dyed yarn inspired by her travels: Fireweed Dye Works).

I love the idea of working on a project that I am very excited about.

You guessed it. I have started Allietare!
  
I didn't find this project until it had been up and running for a week and a half. I hesitated to start for fear of not being able to catch up. But then I read Bonnie Hunter's encouragement to do as much as you can every week and then shift to the new clue even if you haven't finished the old one. That took a lot of (self-imposed)pressure off me. 

The instructions are for a quilt 82" x 96". That's more than I want to commit to, so I am going to make half as many pieces to end up with a half-size quilt. For now I am just going to make half of the half - until I get caught up.
My first step was to go to the hardware store and get the paint chips suggested by Bonnie Hunter. It was fun. I love paint chips. The colors are amazing, and I love the names of the colors. 

The next step was getting some fabric. Some people have a big stash and they can just pull fabric from their stash and start sewing. I have practically no stash, so I get to go to the fabric store. I just happened to have some good coupons for Jo-Ann, so that seemed like a good place to start. 

Here is what I got: 
Some reds and golds
Some blacks, and ONE gray, which will be the constant fabric
(The gray got a little washed out in the camera flash)
Several neutrals
This is going to be so much fun. I am delighted!

Sunday, December 13, 2015

Mug Rug Hugs

I am continuing to cannibalize The Secret Garden. This time I am using it to make mug rugs for some dear friends I will be seeing in January. The entire project was made using leftovers and scraps. I didn't even have to buy the thread.

Here is where I started:


Rocky Mountain Four-Patch Chain block from The Secret Garden.

I ripped out a few seams in this block to remove the four corner squares, which were the perfect size for mug rugs. I then sewed the four cross-pieces together in pairs to make two more squares, and I had the makings of 6 mug rugs.

This project turned out to be a big learning process for me (that's a good thing). I didn't have any directions to follow, so I had to wing it, using what I had learned from other projects. I did a lot of ripping out, but in the end, I let some imperfections go. It was hard to do, but I kept telling myself:
  1. Nobody will notice
  2. Nobody will care
  3. I am being too much of a perfectionist
  4. I have already spent way too much time on this
  5. Why do they have to be perfect anyway?
I used my machine's monogramming capability. It doesn't look as nice as the results you get from a machine with a true embroidery feature, but I wanted a machine that is designed primarily for quilting. I only had to rip out half a monogram. I guess I learned something from my earlier attempts to make labels. It occurred to me, after the fact, that stabilizer might be a good way to go here.

For the actual quilting I tried some straight line quilting, parallel to the "ditch" lines, about 1/4" out. It looked terrible on the back (the side with the monogramming) because it crossed over the monogramming.

Next I tried a stippling or meandering pattern for the free-motion quilting. After doing three I decided I really didn't like the way it looked. In the end I went with a loopy pattern. I have not used this before, but I liked the way it looked. Instead of quilting it from the pieced side, I quilted from the monogrammed side, making sure not to quilt over the monogram.
Loopy quilting
The backing fabric is left over from from some yardage I bought to use in the piecing on the front. The coral backing fabric appears on the patchwork front of some of the pieces. A black companion fabric appears on the front of other pieces. I really like this fabric. The black was provided in the original BOM kits, and I was excited when I found the same 
print in coral.
 
For the binding, I was going to do it the easy way - attach to the back and machine-sew on the front, close to the edge. This looked terrible with white thread. I didn't want to try it with coral thread in the bobbin because I had been experiencing tension problems all through this project and I thought it would look really bad with two different colors if the tension was even the tiniest bit off. 

So, I just sewed the front of the binding down by hand. The white thread shows up too much for my taste, but at the end of a project I always have less patience for ripping out. If I had thought about it, I would have machine-sewn the binding onto the front and hand-sewn it on the back, perhaps using coral thread.
And here they are! I will be making a total of 8.


Lessons learned:
  • Use a stabilizer when monogramming. (I did not.)
  • Don't quilt through monogramming.
  • Thread should match binding. 
  • Take tiny stitches when hand-sewing the binding.
  • Think carefully about whether to attach the binding to front or back, especially if you change your mind about method. 
  • It's harder to do free-motion quilting on a tiny piece than on a fairly large piece.

Saturday, December 12, 2015

Palace Garden - November 2015 BOM

I'm almost done with this year's BOMs!

The block for November went relatively quickly. It is called Palace Garden. It does have the look of an aerial view of the type of formal garden one might see at a palace in Europe. 


What makes this month's block different is that it has a curved seam based on the curve used in the traditional Drunkard's Path pattern. This was my first time cutting and sewing such a seam. I had to make two templates and they weren't easy to use. It was very difficult to cut the curves with a rotary cutter, so I ended up cutting by hand with scissors. (It is interesting that you need two templates for the single curve. With your seam allowances, the two curves need to be different sizes.)

It was difficult and I don't like the result. I think you could do some nice designs with Drunkard's Path, but I don't like this one. This is a seven-patch block, so the quarter circles are intersected by a center cross. This flattens out the circle into more of a square with rounded corners, and I don't particularly like the the way that looks.

Here is a sample of a traditional Drunkard's Path, made by Tim Latimer and posted on his blog, Tim Latimer - Quilts etc 


Lessons learned:
  • Avoid curves.
  • If you think you have made a cutting mistake and run out of fabric, don't freak out. Don't run out to the store. Calm down and breathe. Maybe even wait overnight. When you come back to it, you may find that you did not make a mistake after all.

Tuesday, December 1, 2015

Sea Grass

 In August I took a class with Rayna Gilman. On the second day our challenge was to make something with a limited color palette: two neutrals and a color. Read my blog about the class here: Kiwi, Anyone?

 I selected some fabrics - whites, grays, and greens. (The color is a little off in this photo.)

I sewed the strips together and flipped the piece around.


I squared up the piece. It was a little longer on one edge than the other so it did not lie flat.
After sitting in my sewing area for a suitable length of time, my project demanded to be finished. I tweaked it by narrowing a few of the pieces that were too wide at one end, and managed to beat it into a more one-dimensional piece. I decided to use the print from the focus pieces for the backing. (I have also been using this print for the focus pieces in the 2015 BOMs.)

Then I spent some time thinking about how to quilt it. At first I thought I would quilt only on the light colored stripes, or only on alternating strips. In the end, the focus print also supplied my inspiration for the actual quilting of the project. 

The fabric also gave me the idea to use a variegated thread for the quilting.


Initially I did not plan to have so many lines of quilting, but I just kept filling in blank areas, and in the end, I liked the densely quilted result.
Voila! (Did you notice that it got flipped around again?)

After completing the quilting, I made a facing using the same old focus fabric. (I made the label before sewing on the facing this time :)). It turned out much better than last time, and I only had to do the monogramming once, but it is still a little uneven. The variegated thread looked awful on my test label, so I went with a solid green. I wish I had used the solid green to hem the facing down, but I was too lazy to rip it out and redo it. Besides, it's only on the back, right?


I really like how this turned out. I like it a lot better than "Slice and Dice." I am going to have to try the "two neutrals and a color" idea again.

One last observation . . . As I walked through the living room holding my finished project, it suddenly dawned on me that it looked a lot like our Steve Gordon painting . . . which is my favorite piece in our house! Could I have been influenced subliminally to echo the "look and feel" of the Steve Gordon?


Lessons learned:
  • After squaring off and adding facings, the project will be smaller than expected - in this case, about 10" x 17 1/2". Keep this in mind when you start the project.
  • Plan ahead with regard to when to use variegated thread and when not to.
  • Don't use fusible web to add focus pieces, if you can avoid it. If you are adding the focus pieces at the end, would appliqué look better?


Sunday, November 15, 2015

Slice and Dice, Part 2

My first "art quilt" is finished. I really think of it as a practice piece more than anything. I learned several new techniques doing this project, and it was fun. The most amazing thing I learned was that it is possible to make a quilt without following any of the rules!
Ta da!
After I finished quilting the piece, I spent some time thinking about how to finish it. I thought that if I used a print for the binding it would look too busy. If I used a solid color, it would take away from the dramatic effect of the purple horizontal lines. My friend, Nan, had mentioned facing to me as another method of finishing. I decided to try it.

I spent a few days thinking about what fabric to use for the facing. Unfortunately, I didn't have enough of the backing fabric left for the facing. I wanted to find something that would co-ordinate nicely with the backing fabric - probably a solid. I wasn't convinced that it would look good to have a wide solid border around the back, but I told myself it would be on the back, not the front, so it would be okay.

As I was about to run over to the fabric store, I was struck by an inspiration. What if I used pieces of The Secret Garden for the facing? I had used it for the front, so why shouldn't I use it on the back? I didn't have to go to the fabric store after all!

I made the facing, and sewed it down by hand with a blind hem. It resulted in a rather thick edge, but it actually gives the piece a little more stability, so it is not a problem for this type of project.

I wanted to try out the monogramming function on my new machine, so I decided to add some monogramming to the facing instead of making a label. I thought maybe I would do it after the facing was sewn onto the edge. I don't know why. I think I was worried about placement if I did it before adding the facing to the piece. That was probably not the best way to approach it.
The back, with facing
I stitched a sample of the title, and it looked okay, so I stitched it on the facing. (Well, to be honest, it looked "okayish." My machine is not one of those embroidery machines. It can do monogramming, but it is not terrific.) As I was adding the monogram to the facing, it looked like the fabric was not feeding through the machine in a straight line, so I pulled on it a little to keep the letters in a straight line. Hah! That was a bad idea. The letters got scrunched up and turned out too close together. I had to do it over three times. It was a real pain to rip out the monogramming, but I didn't want to have to rip out the seam holding the facing on. It didn't come out as straight as I would have liked, and the fabric had some holes in it where I had ripped out the monogramming, but it's only the back, right?
Then I added my name and date to the other side.
After finishing the facing I started thinking about whether I should make a hanging sleeve, and how. Alas, my research revealed that it is better to think about this before you sew on the facing. Oh, well. Live and learn. 

Now that I know what I am doing (sort of), I will think more carefully about what fabrics I will use before starting a future piece.

Lessons learned:
  • When you select a backing, make sure you have enough for a facing or binding, or else have a clear idea of what you will use.
  • Plan your hanging sleeve BEFORE you do the facing or binding.
  • Practice the monogramming, and don't try to pull it straight if it seems to be going crooked.
  • Think outside the box!

Monday, November 2, 2015

Slice and Dice, Part 1

Nan wanted to know when I was going to finish one of the projects I started in Rayna Gillman's class. That is just what I needed to spur me on.

I decided to start with my first project from the class. You can see that project and read about how it was created here:
Reinventing the Secret Garden

For several days I thought about how to quilt this project. I wanted to come up with something easy, so I considered quilting straight across with horizontal parallel lines. I decided that wouldn't look good where the lines crossed the two purple stripes. Because the fabric strips do not line up, I was also worried that stitching straight across would result in stitching that "clashed" with the fabric.

I was afraid it would be too much work to quilt each third separately, but I decided to do that in order to get a better result.

Having decided how to quilt this piece, I  picked out a backing fabric that I had used in the some of the original Secret Garden blocks. I had just enough left. I used spray baste to sandwich together the backing, some cotton batting, and the top. 

No one tells you exactly how to use spray baste. I guess you are just supposed to know. I spread an old plastic table cloth on the floor and lay the backing on top of it. I used masking tape to stretch out the backing. Then I sprayed, added the batting, and sprayed again. I laid the top onto the sprayed batting and smoothed it out as much as possible. 

At this point I had a border of sticky batting surrounding the top and I needed to turn it face down and smooth out the backing. I didn't want to put it top down on the sticky tablecloth, so I tried the kitchen counter. (This works well for a small project, but the kitchen counter gets all sticky.  Next time I am going to try putting down some waxed paper first. I'm still thinking about how to complete this process with a bed-size quilt.)

I had a special foot I wanted to try. When I got my new machine I received a generous amount of store credit and I used it to buy extra attachments (and a wheeled case). I bought a foot for quilting. It has two little metal pieces that you can switch out. One has a guide on the side that helps you sew a 1/4" seam. The other piece has a guide that lies in the middle and helps you stitch in the ditch.

I decided to use purple thread in order to tie the piece in to the vertical purple fabric strips. I stitched in the ditch on both sides of the purple strips. I was so excited about trying out the stitch-in-the-ditch gadget that I forgot about using the even-feed foot (a/k/a walking foot). The result was not the best. For whatever reason, the purple strips were a little bunched up. I think they were bunched up already, so I'm not sure that not using the even-feed foot made things worse. The stitches were really tiny, which means they were really hard to rip out, so I didn't rip them out. After I finished the purple strips, I switched to the even-feed foot.

Quilting in three sections turned out to be much easier than I had anticipated, even though there was a lot of turning involved. It went very fast once I got going. As with the sewing done in Rayna's class, there was no measuring; it was just "sew and go." This saved a lot of time.
 
The quilting is done!
This is the back
I decided to name this project Slice and Dice, because it is made from slices of The Secret Garden and because I sliced the whole thing into thirds after I had sewn all the little strips together.


I still need to ponder the stitch-in-the-ditch attachment and experiment further. If you generally want to use the even-feed foot when quilting, when would you ever use the stitch-in-the-ditch foot? Is there some way to pop it onto the even-feed foot and use both? Did I have the wrong combination of dropped feed dogs and other settings when I tried to stitch in the ditch?

Lessons learned:
  • Use waxed paper when you want to smooth out something you just spray basted.
  • Always make sure you are using the proper foot and you have the right settings for the foot you are using

Sunday, November 1, 2015

Circle of Friends - October 2015 BOM

Circle of Friends is a great name for a quilt block. I like this block a lot. I like the colors (but I was a little surprised to see a NEW color, magenta, in month 10). I love the bright star in the center. I love the way the outer stars interlock, like a circle of friends holding hands.

This BOM was a little bit harder than some. I had trouble with the outer strips. When you cut the rhombus, you start out with a rectangle, and then you cut the corner off. It's hard to get it just right when you cut and when you sew the triangles onto the missing corners. The result is a new rectangle, but when you sew the rectangles together, they don't always align well. I re-did some of these pieces 3 times. Rip, rip, rip.

The second problem I had was with the directional print. I thought I had addressed making sure the print squares were all facing the same direction before I sewed the pieces together. It turns out that there are two ways to make the four-patch, and the direction of the print matters. Because the block instructions are planned so that seams alternate nicely, I didn't want to mess with things, so . . . rip, rip, rip.

The third problem was a tension problem. I had been using the machine to repair some t-shirts, and somehow the tension was a little different when I went back to quilting. I didn't figure this out right away. When I noticed the white stitches peeking through, I was not in the proper frame of mind to undo and redo a lot of work.


I am, however, very pleased with how the corners and points turned out.

Lessons learned:
  • Don't just think about the layout. Do an actual layout beforehand, following the instructions.
  • When you cut off a corner to make a rhombus, try stacking.
  • If you use the machine for something else, test the tension before resuming quilting.